Showing posts with label Finds. Show all posts

Monday, August 20, 2012

Monday Mish Mash


Happy Monday!  Hope you all had a great week and weekend. Today’s post is a bit different than normal – lots of odds and ends (hence the title) – instead of just one topic. Things have been quite busy around here and I wanted to share a few of the smaller projects which have been happening at Red Door Home.


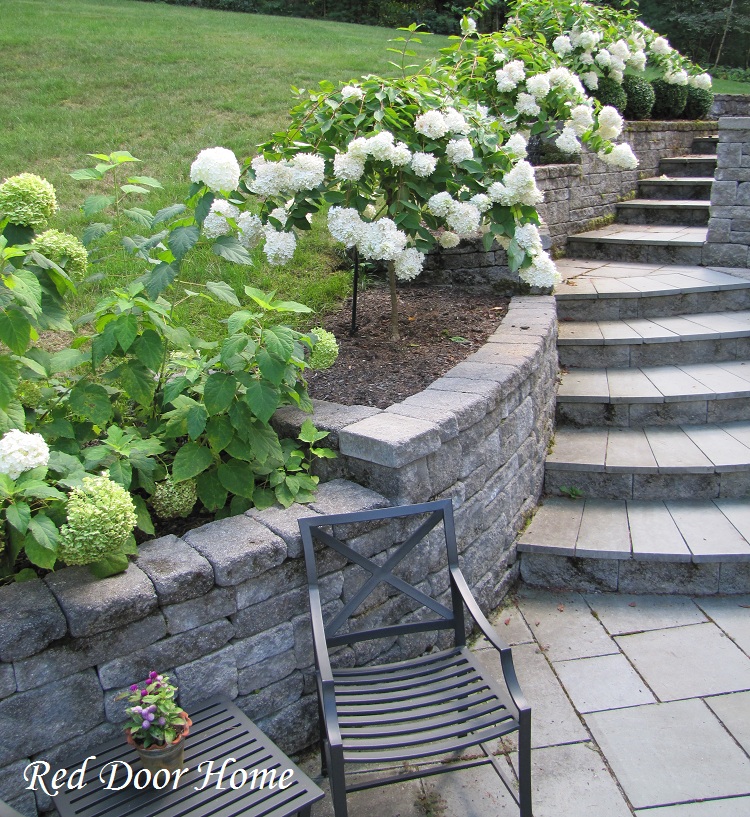
We took advantage of the perfect temperatures to replace the hydrangea bushes which were planted on either side of the boxwoods in the front of the house.  The super hot weather this summer did not sit well with them and they had become quite sickly looking. 


I don’t think they ever really liked this location as I can’t remember them blooming since the first summer they were planted.


So we dug up the old ones and relocated them to a more shady location and planted oak leaf hydrangeas in their place.  I love the oversized white blooms which are in keeping with the other hydrangeas we have planted along the back of the house.  


I am keeping my fingers crossed that they will like their new home.

Another outdoor project was the installation of a new mailbox.  Not too exciting but something which had to be done.  A few weeks ago we received a note saying our current mailbox (which has been in place for over 10 years) was now no longer tall enough. The postal carrier has switched to a truck instead of a car to deliver the mail so our old mailbox had to go.


The mailbox is from Walpole Woodworkers and is a nice improvement from the old cedar post one we used to have.  I ordered it online and because I had it delivered to a local distributor I did not have to pay shipping.  It came in two boxes and was easy to put together.


In other “plant” news, I finally found topiaries!  I have wanted to try my hand with these for so long and was thrilled to find two at a local nursery.  They are a bit small but hopefully by following Loi’s great tips they will grow to look like his beautiful topiaries.


Finally, I began a refinishing project which I have had it the works for quite some time.  The coffee table in the office needed a new look – much too shiny and orange looking.  I had plans for my normal stripping, sanding and then finishing but had a change of plans when I spoke with the sales associate at Lowes.  He shared a new to me way of refinishing wood pieces so I decided to give it a try.  I will share the details and let you know how it all turned out once the table is done.


That is all for now.  I hope to be back later this week with a finished coffee table and more updates on the bedroom sneak peek I shared earlier.

Wednesday, July 18, 2012

How to Use a Vintage Printer Tray for Jewelry Display


The first picture from the photo shoot which was held at my house back in April has been published in Better Homes and Gardens 100 Ideas Real Rooms.


It features Regional Editor and Producer for Meredith Publications, Donna Talley’s fun and clever idea for using a vintage printer tray to display jewelry.

 Better Homes and Gardens 100 Ideas Real Rooms / Photographer - John Bessler
Stylist - Donna Talley, Regional Editor and Producer for Meredith Publications

Vintage printer trays like the one used for this project can easily be found online at sites like Etsy and Ebay, as well as at flea markets.  They come in a variety of shapes and sizes so there is sure to be one which will meet your needs.


Donna graciously shared her step by step instructions so that you too can create a display for your favorite baubles.

1) Decide which jewelry you would like to display and then create a spot for each piece. It's okay if some of the printer's tray spaces are tiny - they can be removed with a quick couple of whacks with a small hammer. Take a photo of the jewelry in the spaces you would like them to go into so you'll remember what goes where.

2) Once all the designated slats are removed, lightly sand the tray and wipe with a damp cloth to remove all dust.

3) Spray tray with two coats of desired color, letting dry between coats.

 Better Homes and Gardens 100 Ideas Real Rooms / Photographer - John Bessler
Stylist - Donna Talley, Regional Editor and Producer for Meredith Publications


4) To line the little cubbies, I selected a book of craft paper from A.C. Moore. The one I used is called "The Linen Closet Stack" - these are beautiful papers that look like fabrics - linen, damask, etc. I measured each cubby and then measured the paper and attached with clear glue. Mix up the paper patterns to create a pretty effect from afar. Try to select papers that won't compete with the jewelry - the paper should complement, not compete with, the baubles!

5) To hang the jewelry, I used screw-in gold hooks in various sizes. Using a wire cutter and a hot glue gun, I clipped off the screw end of each of the hooks (it's impossible to screw into those really small cubbies!) I attached the screw-less hooks with a dab of hot glue. Press in place for a few seconds and let dry completely before hanging jewelry.

 Better Homes and Gardens 100 Ideas Real Rooms / Photographer - John Bessler
Stylist - Donna Talley, Regional Editor and Producer for Meredith Publications


6) Finally, to finish off the piece, I attached a pair of picture hangers on each end of the back and threaded a large wire ribbon through the back and added a bow at the top.

So pretty and simple!  My favorite take away from this project is using jewelry as art.  I have my jewelry stored in a box and love the idea of displaying it not only for easy access but as a pretty “picture” as well.

Thank you Donna for sharing!  There are more great ideas to come from the photo shoot.  I will be sure to let you know when they are published.


Thursday, April 26, 2012

About that Big Basket


Thank you all for your nice comments about my living room.  It seems many of you like the idea of no rug – at least during the summer months.  I must say it is a lot easier to keep clean!  I am not sure how the feet will feel come winter but that is a while away.


I had several people inquire about the large basket.  It is a vintage French covered transport trunk.


I purchased it from Bonny Neiman Antiques and I am absolutely thrilled!  Bonny was so nice to work with and I highly recommend her shop.  I also bought the pretty mirror which hangs above the bed in the master bedroom from Bonny.

To be honest when I bought the basket I really did not pay attention to the size and had no idea where I was going to put it.

At first it found a home in the family room.  Although it looked fabulous, the trouble was, now I was left with no place for the wagon.  Then I came across this picture.

Via Southern Living

A perfect solution!


I immediately hauled the basket upstairs and in the bedroom it went – making a perfect bedside table.

I love the extra layer of texture it adds to the room and how it is a bit unexpected.


I have to admit I was fortunate that things worked out so well.  

Have you ever purchased something without knowing  where you were going to place it? I would love to hear what you bought and where it ended up!  


Thursday, September 29, 2011

New to Me Hallway Mirror

Thank you so very much for all the nice comments about our new puppy, Abby.  She has been such a delight and has already become an important part of our family.  It is hard for me to believe over two weeks have passed since I last shared news from the house with the red door.  I don’t think I have ever gone this long without posting something since I started this blog over two years ago.  It is not for lack of things to write about but rather just plain busyness.

Anyway, I wanted to finally reveal what I meant to buy when I purchased the blue glass lamp for the master bedroom way back in April.  You may recall I had come across an item of interest on Craig’s List and ended up purchasing the lamp and the item.  What was the item?


It was a large Eastlake mirror.


Originally I was looking for something big to fill up the wall space at the bottom of the basement stairs (from the above pictures you can tell it did not end up there) and thought a large mirror would be just the thing. I have always loved the look of an oversized mirror leaning against the wall and this seemed like the perfect spot.


After a while, however, I realized it was just not big enough for the space.  It looked good but didn’t have the impact I had wanted.  I began looking for an alternative location and was so pleased to see it fit perfectly at the entrance to the basement stairwell.


No surprise in that I decided to paint it white – Annie Sloan’s old white to be exact.  I still have not figured out if I should distress the edges or leave it as is.  I keep waffling between the two.  I would love to know what you think!


Thanks again for your patience!  I am going to try to get caught up soon.


Tuesday, September 13, 2011

Goodies in the Mail and a New Family Addition

The past few weeks have been filled with lots of fun and excitement!  The mailman has been a regular visitor at my house – delivering a few expected packages as well as a nice surprise – and we have added a new member to the family.

Last week started off with the delivery of this wonderful enamel sign I won a while back from a giveaway hosted by Darlene at Fieldstone Hill.


It is made by Ramsign and is a work of art which is made to be used.  It took several weeks to arrive once my order was placed but it was well worth the wait.  Thanks Darlene!

The second delivery came about courtesy of Joan from For the Love of a House.  She recently shared her source for real wax candle sleeve covers - Lumiere Candles.  I honestly did not even know such a thing existed!
Since I am all about the details, I couldn’t wait to replace the plastic sleeves on my vintage light fixtures in the dining room and living room with the real thing.


The funny thing was, I was in such a rush to order the candle sleeves I ordered six twelve inch sleeves instead of the twelve six inch sleeve I needed.  Lucky for me, Lumiere Candles’ customer service is incredible.  I left a message about my mistake and received a phone call back almost immediately telling me what I need to do to make an exchange.

My new beeswax candle sleeve covers really do make a difference in the way the chandeliers look and I highly recommend them for anyone who loves authenticity.
The third package I received this past week was a lovely surprise.  I recently featured Jenni from Dear Lillie as the September RDH blog of the month.  During the post I mentioned how much I liked the silhouette shopping bag which was a new addition to the Dear Lillie Store.  Well, a few days later I received one in the mail!  It was such a lovely and unexpected gesture and I can’t thank Jenni enough.


Finally, I wanted to share a picture of the newest addition to our house with the red door – Abby!

She is a miniature Schnauzer puppy and came to live with us just this past Saturday.  She may show up from time to time in some upcoming pictures so I thought I should introduce her to you.

Wednesday, September 7, 2011

Decorating with Shells – An Oyster Shell Ball Tutorial


One of my favorite activities when I visit the beach is shell hunting. For years I have been slowly adding to my collection and using my treasures in my home.


They are scattered about in almost every room and serve as a reminder of the many fun vacations my family has enjoyed over the years.


This summer I decided to collect shells which I had previously ignored – oyster shells.

I have seen lots of different decorative uses for these shells and decided to try my hand at creating a simple shell ball.


It was an easy process requiring only shells, hot glue and a Styrofoam ball.


I began my project by grouping the shells by size.  By using shells of nearly the same size, I figured I would increase my odds of ending up with something round.


Beginning in the middle of the Styrofoam ball, I simply applied hot glue and stuck/pressed the shell into to Styrofoam through the glue before it hardened.  I worked in a single row around the circumference of the ball before beginning the next row.


The entire project took about twenty minutes and when I was finished I had a decorative reminder of another great summer of fun!

Do you use shells as decorative accessories in your home?  If so I would love to know how you display your beach finds.


Wednesday, August 17, 2011

A French Bench

A while back I mentioned I was beginning the process of “un-matching” the master bedroom.  I have grown tired of the suite of furniture my husband and I purchased many years ago and now want something with a more collected feel.


Well I am happy to say I have found the first piece for my bedroom redesign – a perfectly imperfect French bench!


I discovered this beauty on Craig’s list and jumped at the chance to exchange the mission style bench which previously occupied the space at the end of the bed for this one with much more character and patina.


The biggest changes to this room, of course, are still to come - replacing the carpet with hardwood flooring, purchasing a new bed, etc.  Until then, however, I will enjoy this first step towards creating the look I have envisioned for this space.


Saturday, July 23, 2011

Balloon Sandals

Yes, the following post is a bit out of the ordinary for RDH – no home ideas here - but this project is so cute and simple I just had to share!


While on vacation, I spied a friend of my mother wearing a pair of sandals she had created using water balloons and inexpensive flip flops.  My daughter immediately wanted a pair so off to the Dollar Store (balloons) and CVS (sandals) we went.

As you can see from the picture above, the sandals we purchased had beads along the straps, so the first step was to remove them.  Once the beads were cut-off, we simply tied the balloons – one at a time – around the straps until they were completely covered.


Helpful tips:
- The balloons work better if they are stretched slightly before tying.
- Once you tie the balloon on the strap pull it tight so the balloons appear fluffy.
- Alternate directions of the balloons as you tie so that you don’t end up with all tops on one side and ends on the other.
- Push the balloons close together as you work so that they are nice and tight.
- Although this is a simple project, younger kids might have a hard time tying and pulling the balloons tight.

Hope you enjoyed this simple project.  My daughter has been wearing these sandals non-stop and lots of people have asked her where she bought them!

Blog Widget by LinkWithin